This post will walk through deploying an AKS Cluster using the Azure CLI. Once the cluster has been deployed, Anchore Engine will be installed and run via Helm on the cluster. Following the install, I will configure Anchore to authenticate with Azure Container Registry (ACR) and analyze an image.
Prerequisites
Create Azure Resource Group and AKS Cluster
In order to create a cluster, a resource group must first be created in Azure.
Azure CLI:
az group create --name anchoreAKSCluster --location eastus
Once the resource group has been created, we can create a cluster. The following command creates a cluster name anchoreAKSCluster with three nodes.
Azure CLI:
az aks create --resource-group anchoreAKSCluster --name anchoreAKSCluster --node-count 3 --enable-addons monitoring --generate-ssh-keys
Once the cluster has been created, use kubectl to manage the cluster. To install it locally use the following command:
Azure CLI:
az aks install-cli
Configure kubectl to connect to the cluster you just created:
Azure CLI:
az aks get-credentials --resource-group anchoreAKSCluster --name anchoreAKSCluster
In order to verify a successfull connection run the following:
kubectl get nodes
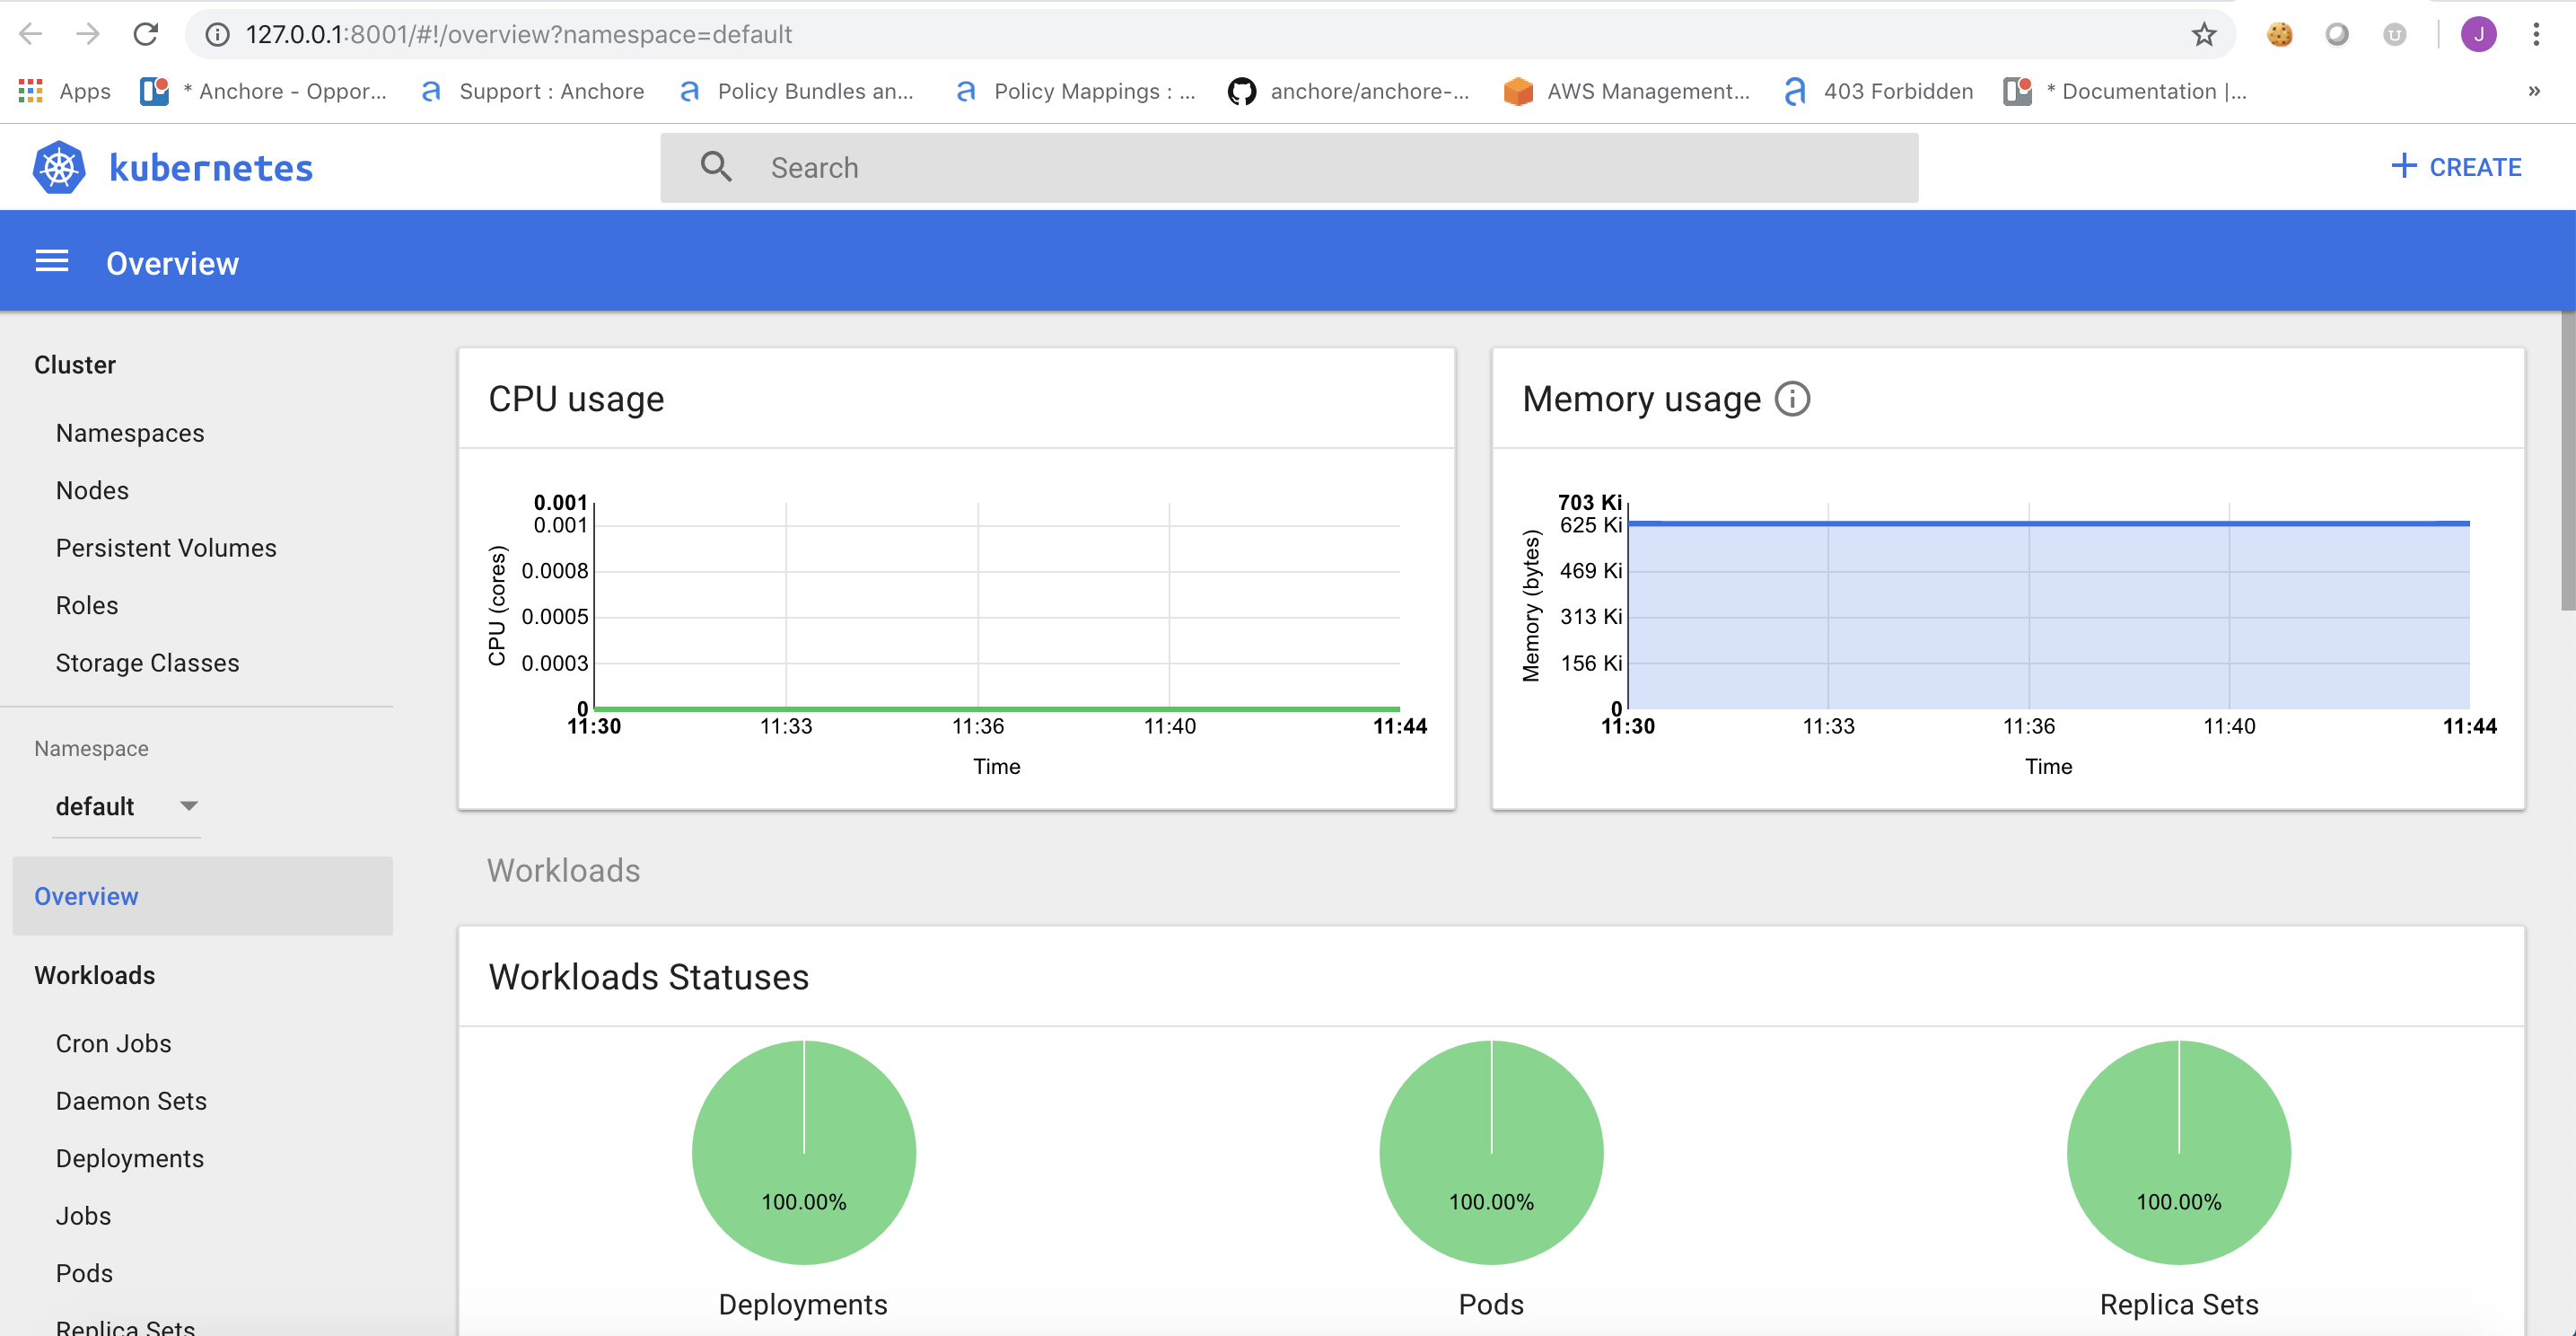
Kubernetes Dashboard
To view the Kubernetes Dashboard for your cluster run the following command:
Azure CLI:
az aks browse --resource-group anchoreAKSCluster --name anchoreAKSCluster
Helm Configuration
Prior to deploying Helm in an RBAC-enabled cluster, you must create a service account and role binding for the Tiller service.
Create a file name helm-rbac.yaml:
apiVersion: v1
kind: ServiceAccount
metadata:
  name: tiller
  namespace: kube-system
---
apiVersion: rbac.authorization.k8s.io/v1
kind: ClusterRole
metadata:
  name: kube-dashboard
rules:
- apiGroups: ["*"]
  resources: ["*"]
  verbs: ["*"]
---
apiVersion: rbac.authorization.k8s.io/v1
kind: ClusterRoleBinding
metadata:
  name: tiller
roleRef:
  apiGroup: rbac.authorization.k8s.io
  kind: ClusterRole
  name: cluster-admin
subjects:
  - kind: ServiceAccount
    name: tiller
    namespace: kube-system
---
apiVersion: rbac.authorization.k8s.io/v1
kind: ClusterRoleBinding
metadata:
  name: rook-operator
  namespace: rook-system
roleRef:
  apiGroup: rbac.authorization.k8s.io
  kind: ClusterRole
  name: kube-dashboard
subjects:
- kind: ServiceAccount
  name: kubernetes-dashboard
  namespace: kube-system
Run the following command to create the account and role binding:
kubectl apply -f helm-rbac.yaml
To deploy Tiller in the AKS cluster run the following command:
helm init --service-account tiller
Install Anchore
We will deploy Anchore Engine via the lastest Helm Chart release. For a detailed description of the chart options view the Github repo.
helm install --name anchore-demo stable/anchore-engine
Following this, we can use kubectl get deployments to show the deployments.
Output:
$ kubectl get deployments
NAME                                 READY   UP-TO-DATE   AVAILABLE   AGE
anchore-demo-anchore-engine-core     1/1     1            1           5m36s
anchore-demo-anchore-engine-worker   1/1     1            1           5m36s
anchore-demo-postgresql              1/1     1            1           5m36s
Expose API port externally:
kubectl expose deployment anchore-demo-anchore-engine-core --type=LoadBalancer --name=anchore-engine --port=8228
Output:
service/anchore-engine exposed
View service and External IP:
kubectl get service anchore-engine
Output:
NAME             TYPE           CLUSTER-IP    EXTERNAL-IP      PORT(S)          AGE
anchore-engine   LoadBalancer   10.0.56.241   40.117.232.147   8228:31027/TCP   12m
Assuming you have the Anchore-CLI, you can pass the EXTERNAL-IP to the CLI as the --url parameter.
View the status of Anchore:
anchore-cli --url http://40.117.232.147:8228/v1 --u admin --p foobar system status
Output:
Service simplequeue (anchore-demo-anchore-engine-core-6447cb7464-cp295, http://anchore-demo-anchore-engine:8083): up
Service analyzer (anchore-demo-anchore-engine-worker-746cf99f7c-rkprd, http://10.244.2.8:8084): up
Service kubernetes_webhook (anchore-demo-anchore-engine-core-6447cb7464-cp295, http://anchore-demo-anchore-engine:8338): up
Service policy_engine (anchore-demo-anchore-engine-core-6447cb7464-cp295, http://anchore-demo-anchore-engine:8087): up
Service catalog (anchore-demo-anchore-engine-core-6447cb7464-cp295, http://anchore-demo-anchore-engine:8082): up
Service apiext (anchore-demo-anchore-engine-core-6447cb7464-cp295, http://anchore-demo-anchore-engine:8228): up

Engine DB Version: 0.0.7
Engine Code Version: 0.2.4
It is recommended to add the URL, username, and password as environment variables to avoid passing them with every anchore-cli command. View repo for more info.
You are now ready to begin analyzing images
Creating a Container Registry in Azure
First, create a resource group.
Azure CLI:
az group create --name anchoreContainerRegistryGroup --location eastus
Create a container registry.
Azure CLI:
az acr create --resource-group anchoreContainerRegistryGroup --name anchoreContainerRegistry001 --sku Basic
Verify login to create ACR.
Azure CLI:
az acr login --name anchoreContainerRegistry001
Push Image to ACR
In order to push an image to your newly created container registry, you must have an image. I've already pulled an image from my Docker Hub account via the following command:
docker pull jvalance/sampledockerfiles:latest
Once I have the image locally, it needs to be tagged with the fully qualified name of the ACR login server. This can be obtained via the following command:
Azure CLI:
az acr list --resource-group anchoreContainerRegistryGroup --query "[].{acrLoginServer:loginServer}" --output table
Output:
AcrLoginServer
--------------------------------------
anchorecontainerregistry001.azurecr.io
Run the following command to tag and push image:
docker tag jvalance/sampledockerfiles anchorecontainerregistry001.azurecr.io/sampledockerfiles:latest
docker push anchorecontainerregistry001.azurecr.io/sampledockerfiles:latest
View your pushed image in ACR.
Azure CLI:
az acr repository list --name anchorecontainerregistry001 --output table
Output:
Result
-----------------
sampledockerfiles
Now that we have an image in ACR we can add the created registry to Anchore.
Add the Created Registry to Anchore and Begin Analyzing images
With the anchore-cli we can easily add the created container registry to Anchore and analyzed the image.
- --registry-type: docker_v2
- Registry: myregistryname.azurecr.io
- Username: Username of ACR account
- Password: Password of ACR account
To obtain the credentials of the ACR account run the following command:
Azure CLI:
az acr credential show --name anchorecontainerregistry001
Output:
{
  "passwords": [
    {
      "name": "password",
      "value": "********"
    },
    {
      "name": "password2",
      "value": "********"
    }
  ],
  "username": "anchoreContainerRegistry001"
}
Run the following command to add the registry to Anchore:
anchore-cli registry add --registry-type <Type> <Registry> <Username> <Password>
View the added registry:
anchore-cli registry list
Output:
Registry                                      Type             User
anchoreContainerRegistry001.azurecr.io        docker_v2        anchoreContainerRegistry001
Once with configured the registry we can analyze the image we just pushed to it with the following command:
anchore-cli image add anchoreContainerRegistry001.azurecr.io/sampledockerfiles:latest
We can view the analyzed image via the image list command:
anchore-cli image list
Output:
Full Tag                                                               Image ID                                                                Analysis Status
anchoreContainerRegistry001.azurecr.io/sampledockerfiles:latest        be4e57961e68d275be8600c1d9411e33f58f1c2c025cf3af22e3901368e02fe1        analyzed
Conclusion
Following these examples, we can see how simple it is to deploy an AKS cluster with a running Anchore Engine service, and additionally, if we are using ACR as a primary container registry, easily set up and configure Anchore to scan any images that reside within the registry.