In this blog, we will add Anchore security and compliance to a GitLab container pipeline. We will be using AWS and a GitLab registry, however the same approach can be taken for any platform or registry.
Requirements
- AWS account
- GitLab account
Step 1: Project Setup
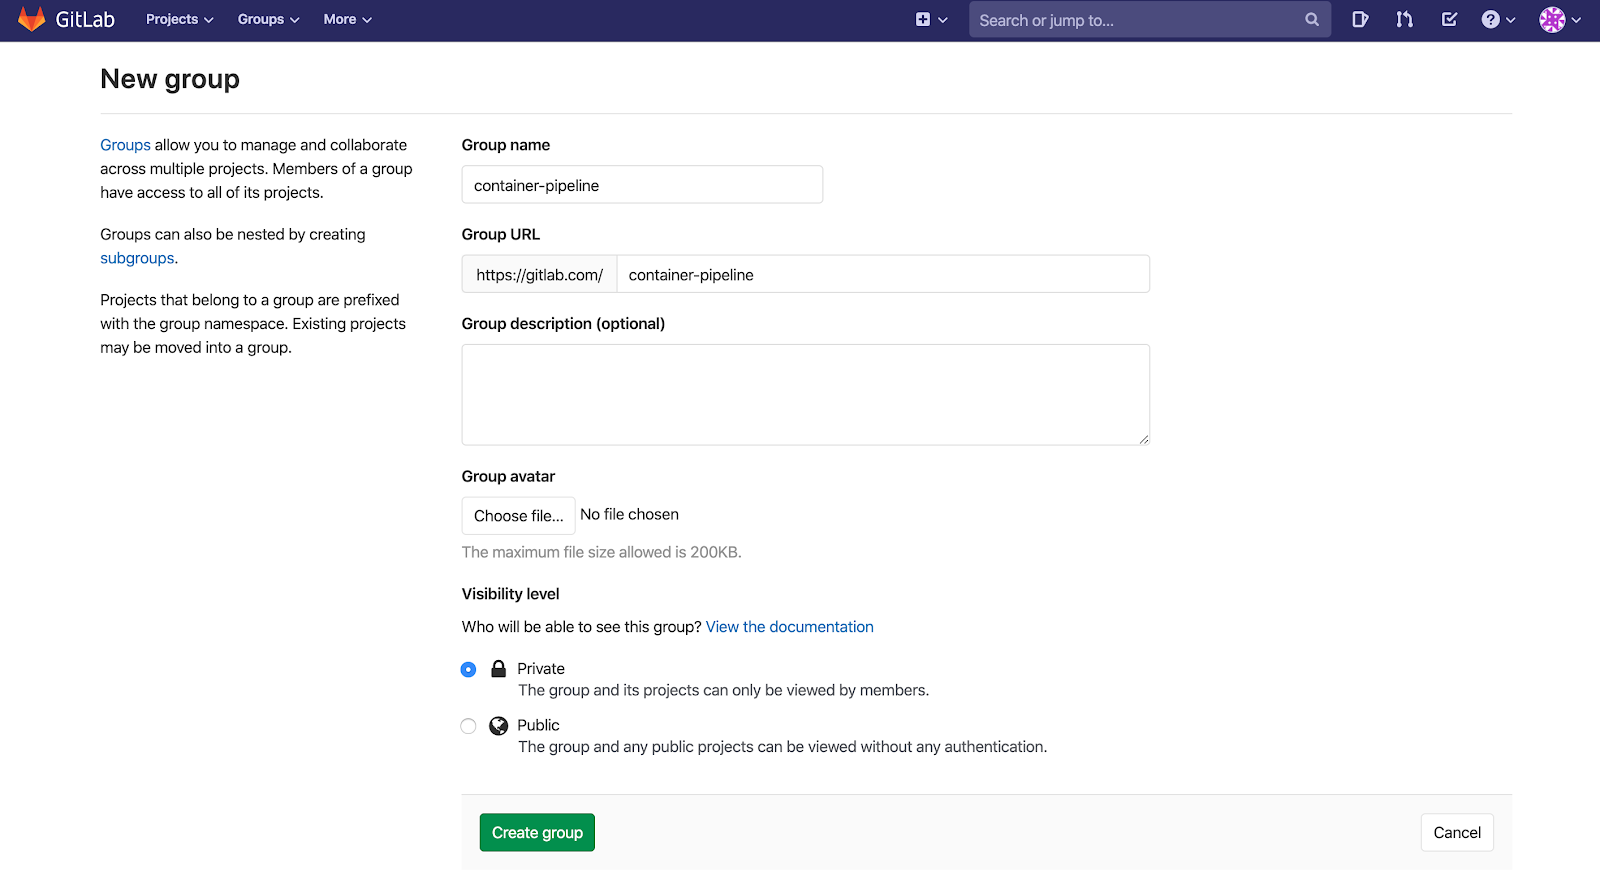
To get started, let’s sign into GitLab and create a new group. We’ll need a group so we can fork the repo associated with this post into a GitLab namespace. If you already have an available namespace, you can use that.
Once we’ve created a group, let’s fork this repo, clone the forked project to our local machine, and cd into it.
git clone
cd gitlab-demo
Next, we will need a GitLab Runner to execute our .gitlab-ci.yml file. So, back in GitLab, within our forked repo, let’s navigate to Settings > CI/CD and expand the Runners section.
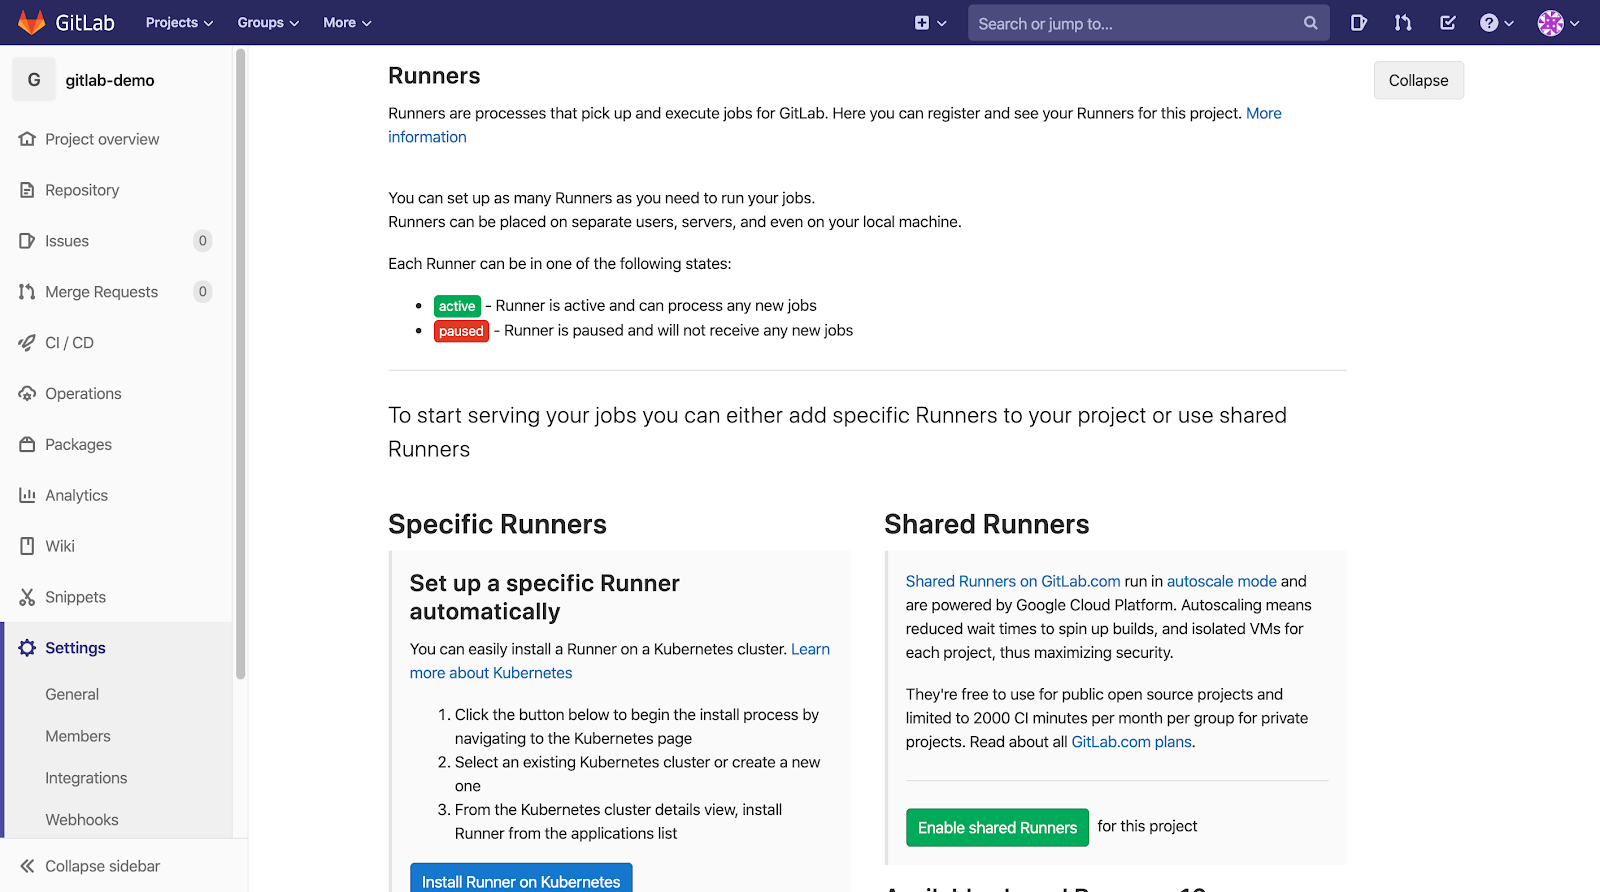
In this guide, we will be using a specific runner so Anchore Engine and our GitLab Runner can live on the same machine. Underneath “Shared Runners”, disable shared Runners for the project (if enabled).
Lastly, underneath “Set up a specific Runner manually”, copy the registration token. We will use this token in the next step.
Step 2: Infrastructure Setup
In order to speed up the installation process, we will use Infrastructure-as-Code. If we inspect the terraform.tf file in our repo, we will see that it performs several tasks for us:
- Creates an AWS EC2 instance (Ubuntu AMI / t2.xlarge / 16 GiB storage) with a security group that allows ssh into the instance from our local machine only
- Installs and starts Docker
- Installs and runs Anchore Engine via Docker Compose (Anchore Engine can also be deployed on Kubernetes; see our docs for more info)
- Adds our registry to Anchore Engine
- Installs the Anchore CLI
- Installs, registers, and starts our GitLab Runner as a Shell Executor
All of this can be done by exporting 8 simple environment variables and running a few basic commands with Terraform. If you haven't already, install Terraform now.
Let’s start by pasting our registration token from the previous step and setting the remaining required environment variables from our local machine.
export TF_VAR_gitlab_runner_registration_token=
# paste token from previous step

export TF_VAR_region=<AWS_REGION>
# example: us-east-2

export TF_VAR_key_name=<AWS_KEYPAIR_NAMES>
# example: mykey

export TF_VAR_key_path=<AWS_PRIVATE_KEY_PATH>
# example: ~/.ssh/mykey.pem

export TF_VAR_registry=<REGISTRY_HOSTNAME>
# example: registry.gitlab.com/container-pipeline/gitlab-demo

export TF_VAR_registry_username=<REGISTRY_USERNAME>

export TF_VAR_registry_password=<REGISTRY_PASSWORD>
Verify that our AWS credentials file contains non-expired profile credentials (Terraform will hang if these are unset or expired).
cat ~/.aws/credentialsCopy our AWS profile name.
[default] # copy this
aws_access_key_id =
aws_secret_access_key =
aws_session_token =
Create the final environment variable Terraform needs to create an AWS connection.
export TF_VAR_profile=
# example: default
Finally, after confirming that we are inside our repo (in the same directory as the terraform.tf file), let’s initialize our project, apply our configuration, and accept changes.
terraform init
terraform apply
yes
Terraform is now spinning up our EC2 instance and performing the tasks listed at the beginning of this step (this will take approximately 3.5 minutes).
Step 3: Test and Customize
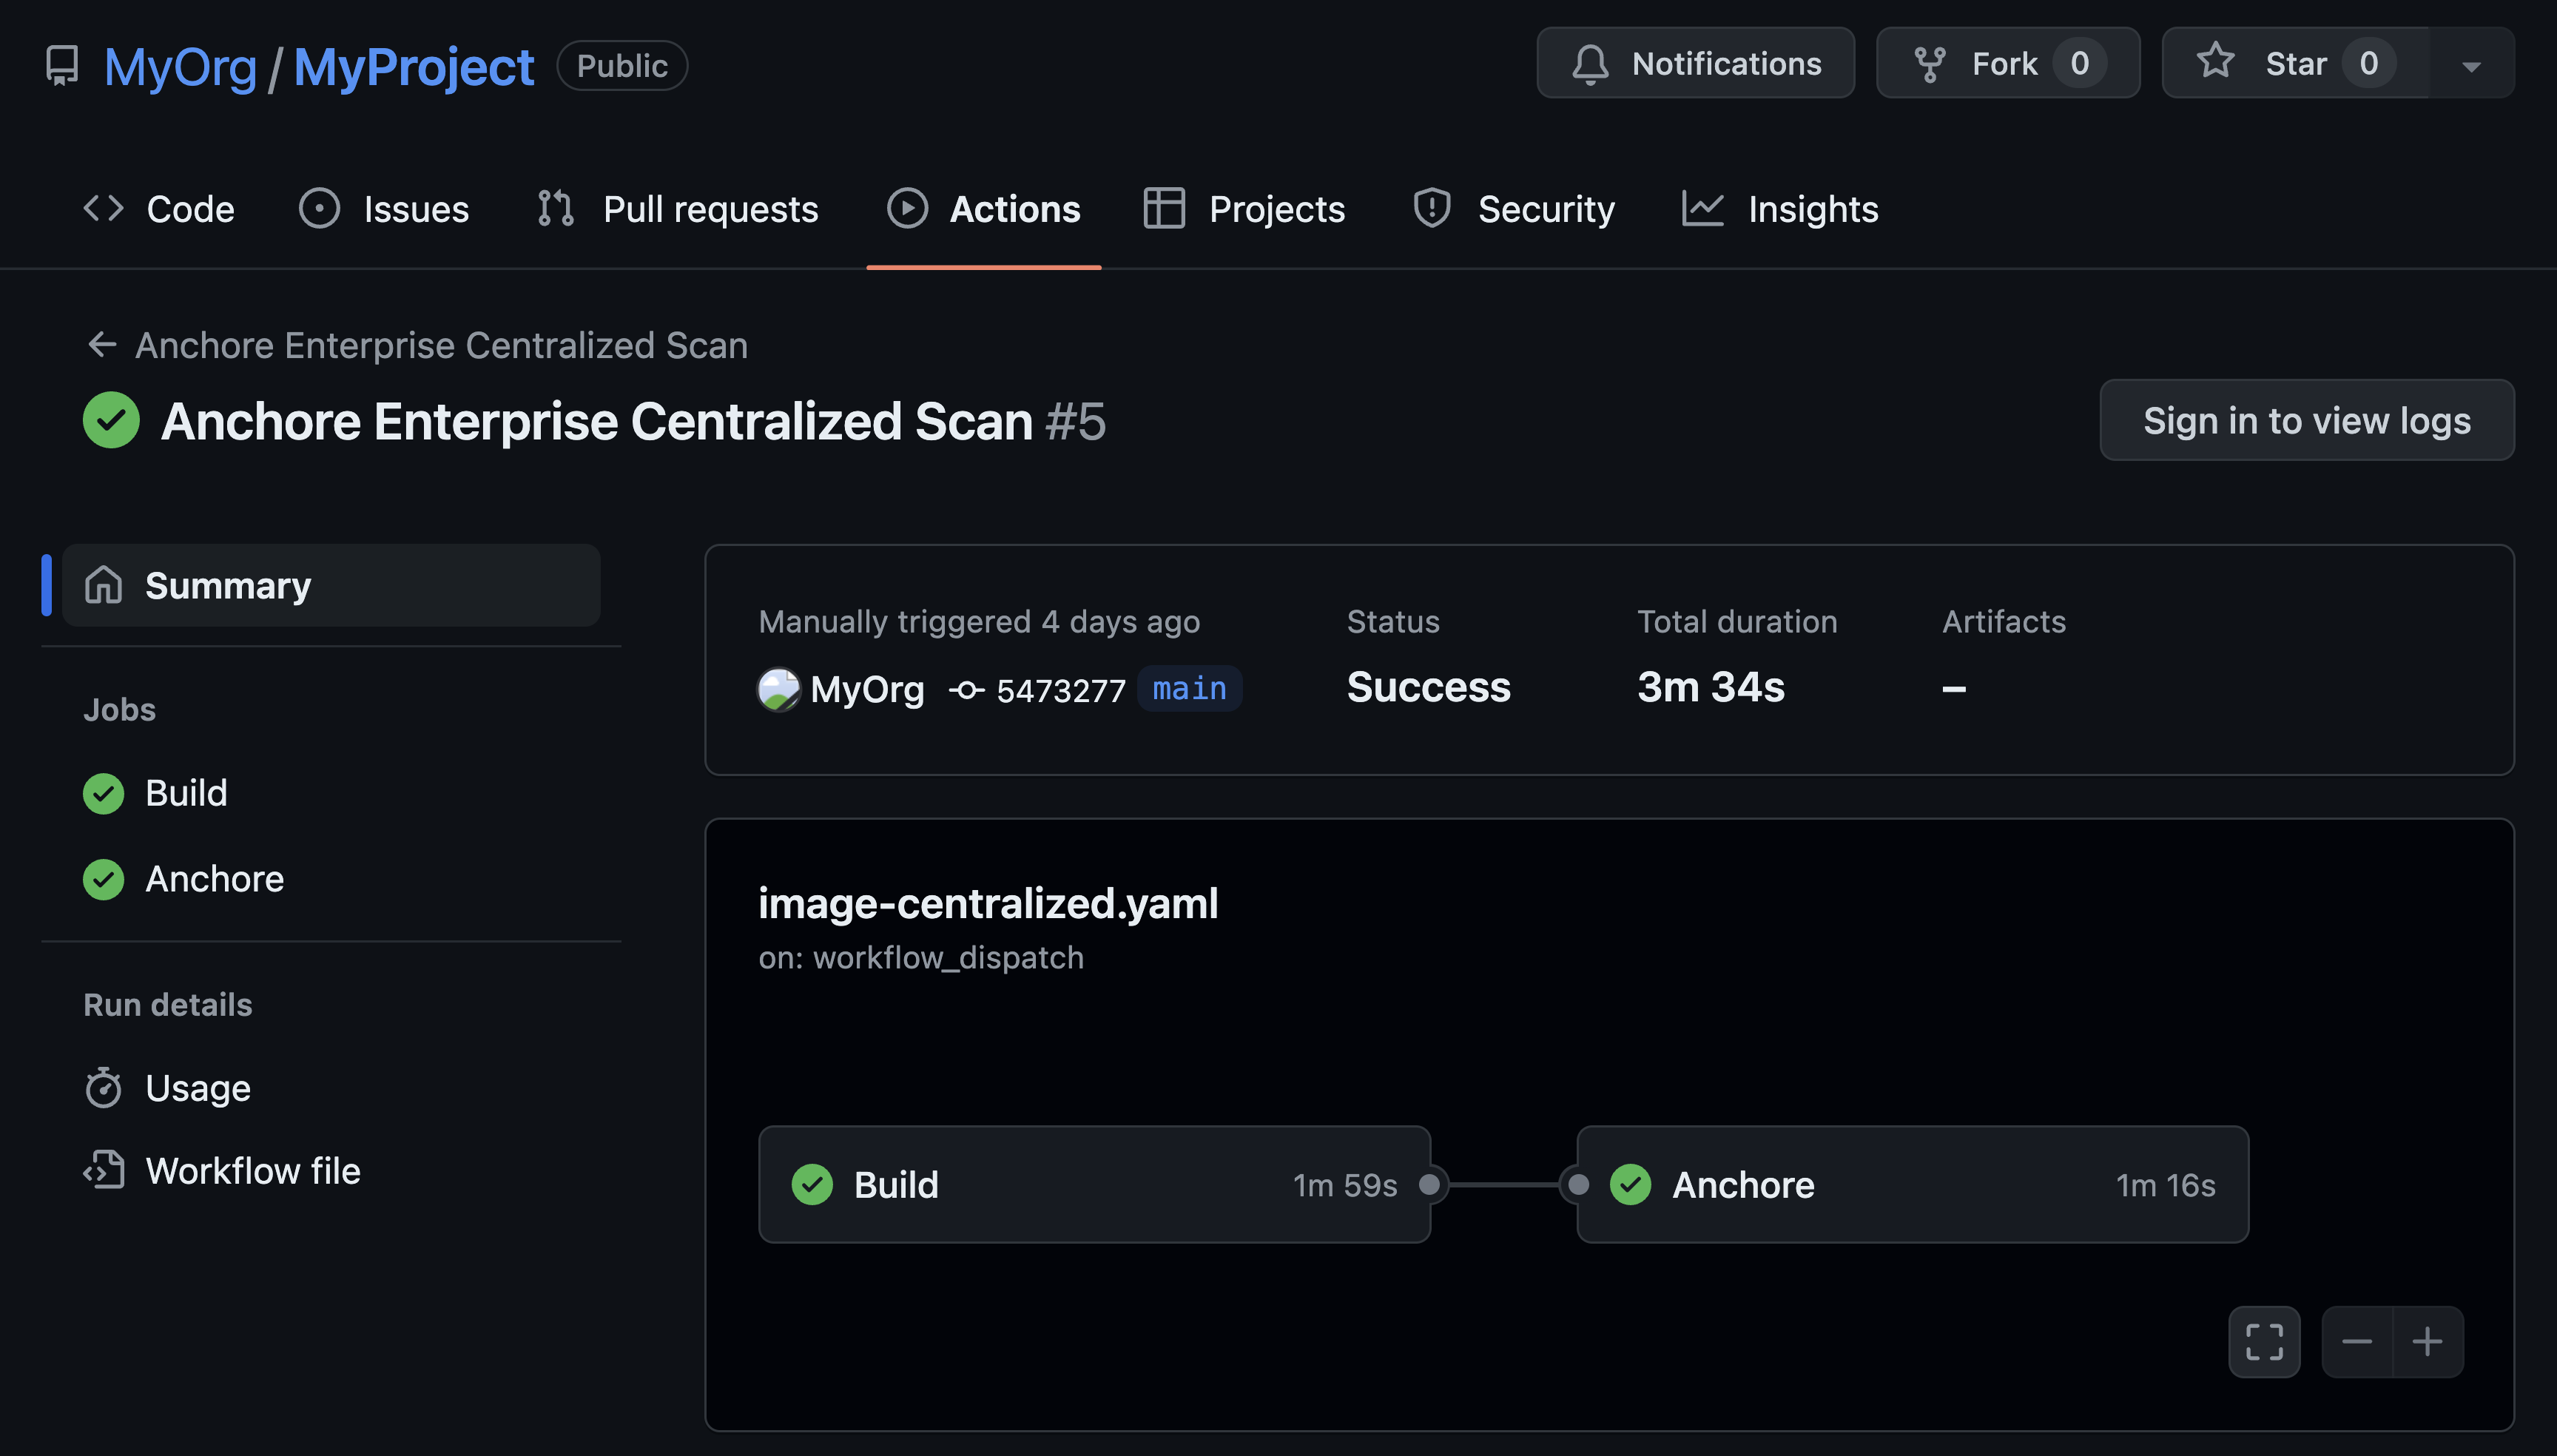
By default, when GitLab sees an active runner associated with our project, it triggers our pipeline build every time we push changes. While we could trigger our pipeline manually or with pull requests, try modifying the Dockerfile and push your changes. Check out the results in the CI/CD > Jobs logs.
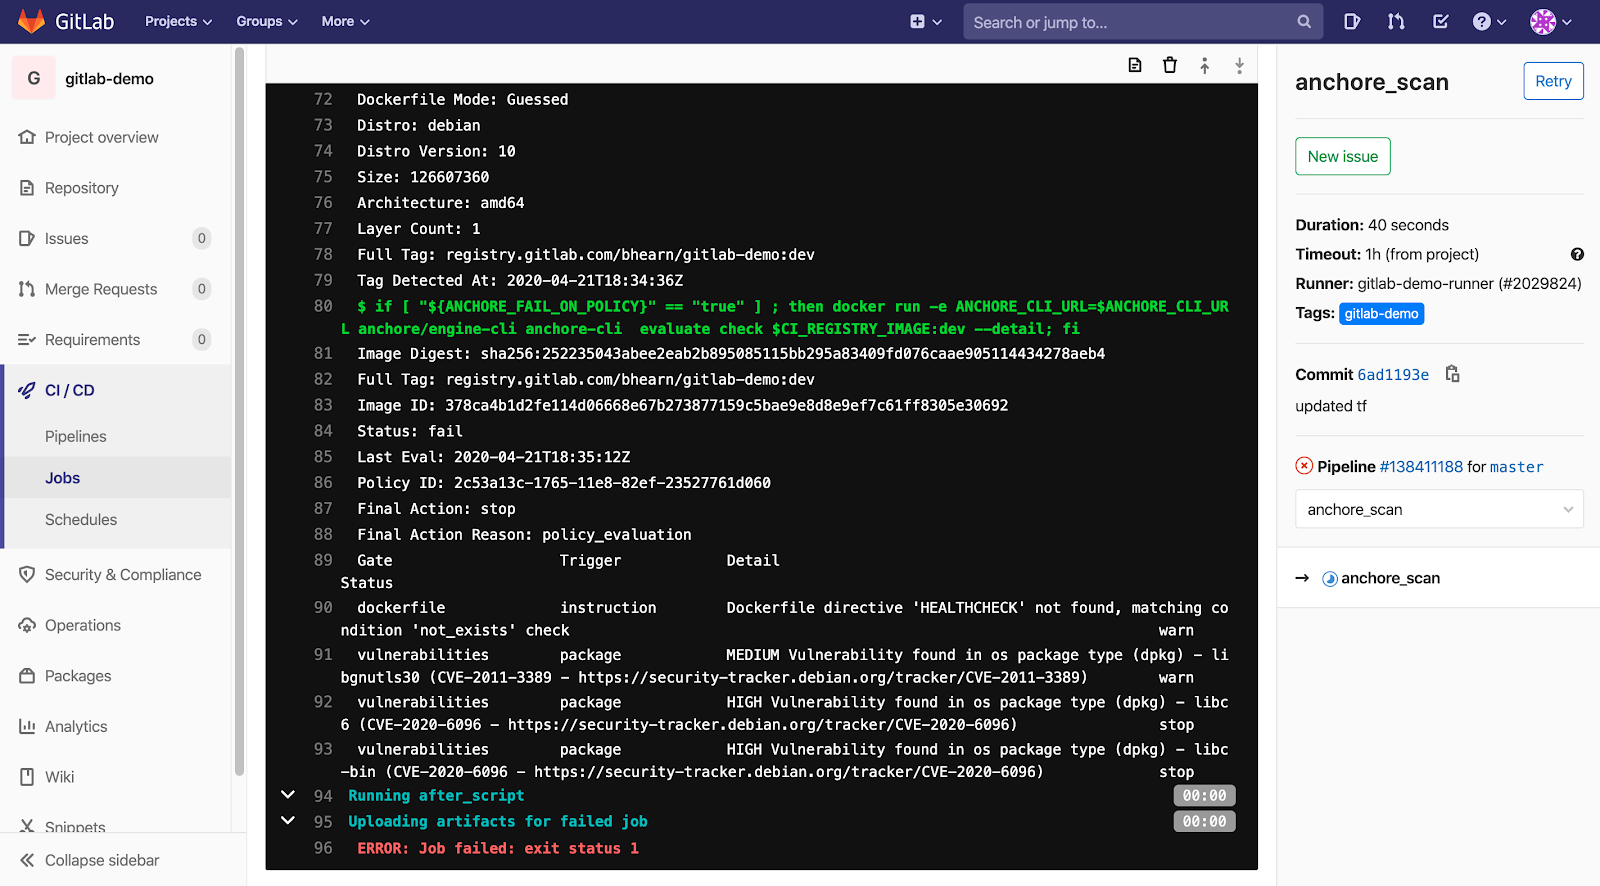
In this example, we simply tested debian:latest and our result was FAIL. Anchore Engine found 2 high vulnerabilities that did not comply with the default policy, thus our pipeline broke and was prevented from continuing to the next stage. If you desire, you can change the ANCHORE_FAIL_ON_POLICY variable in .gitlab-ci.yml to "false" to allow the pipeline to continue.
We now have Anchore Engine configured with a GitLab pipeline. You can connect to the EC2 instance via ssh from the local machine you ran the Terraform commands with so you can further manage your registries and policies. For more information on using registries and policies with Anchore Engine, see:
This guide shows just one way you can integrate container security and compliance into a GitLab pipeline. Feel free to use the files in the associated repo when you are integrating Anchore into your pipeline and scanning your own images!